You have chosen to add a power tailgate to your Tiguan. Excellent decision. I guarantee that once you start using a power tailgate, you will wonder how you lived without it. There are a few cases where someone will get a new vehicle with a power tailgate or simply desire to add a power tailgate. Fortunately, adding a power tailgate to a Tiguan is a straightforward option. You can complete this task yourself, or you can have an automotive professional complete the installation. I will provide a complete guide to installing your power tailgate, including step by step instructions for selecting a power tailgate kit and ensuring you have a fully functional automated tailgate. Let's get started.
Before you start your installation process, you need to select a power tailgate kit that is compatible with your Tiguan. Vehicle manufacturers provide a wide range of options for select years of vehicles, and the Tiguan is no exception. For example, a kit designed to fit a 2012 to 2016 Tiguan will NOT fit a 2017 to 2024 vehicle and vice versa. You will need to do your research and find the appropriate kit for your vehicle.
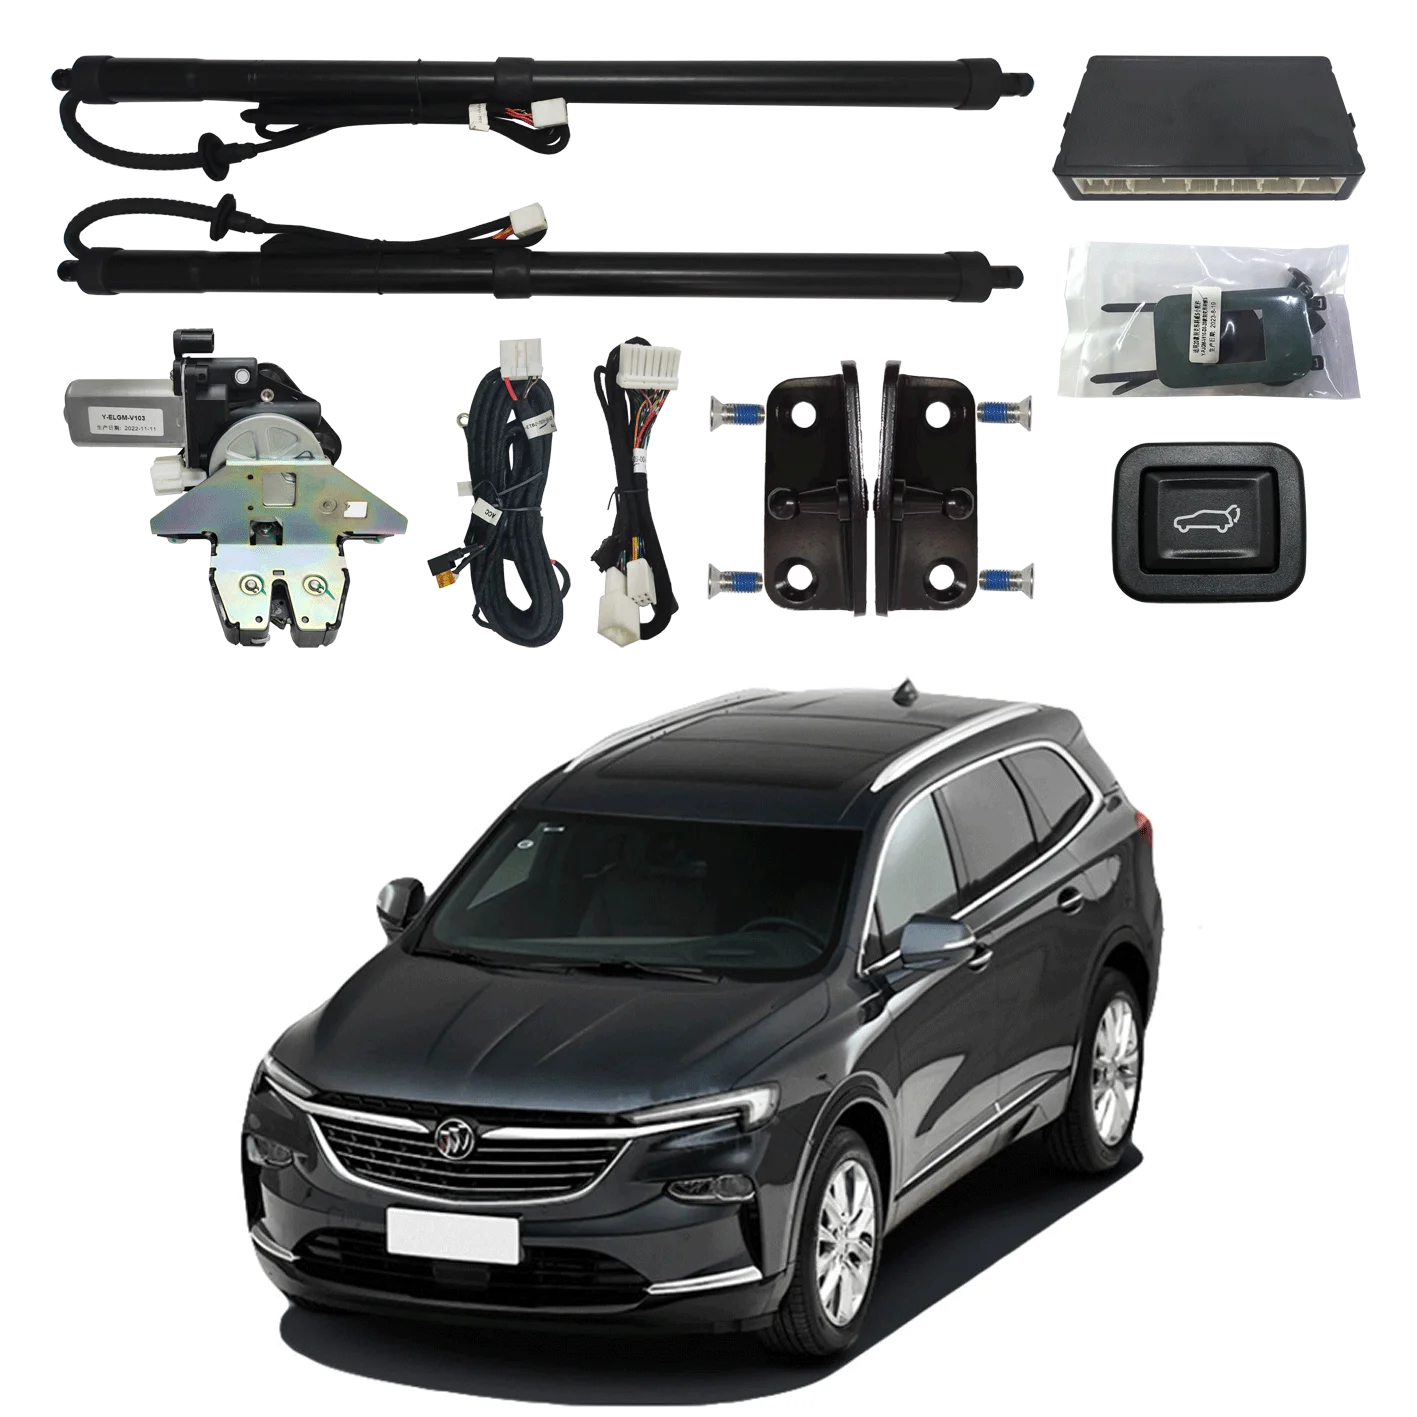
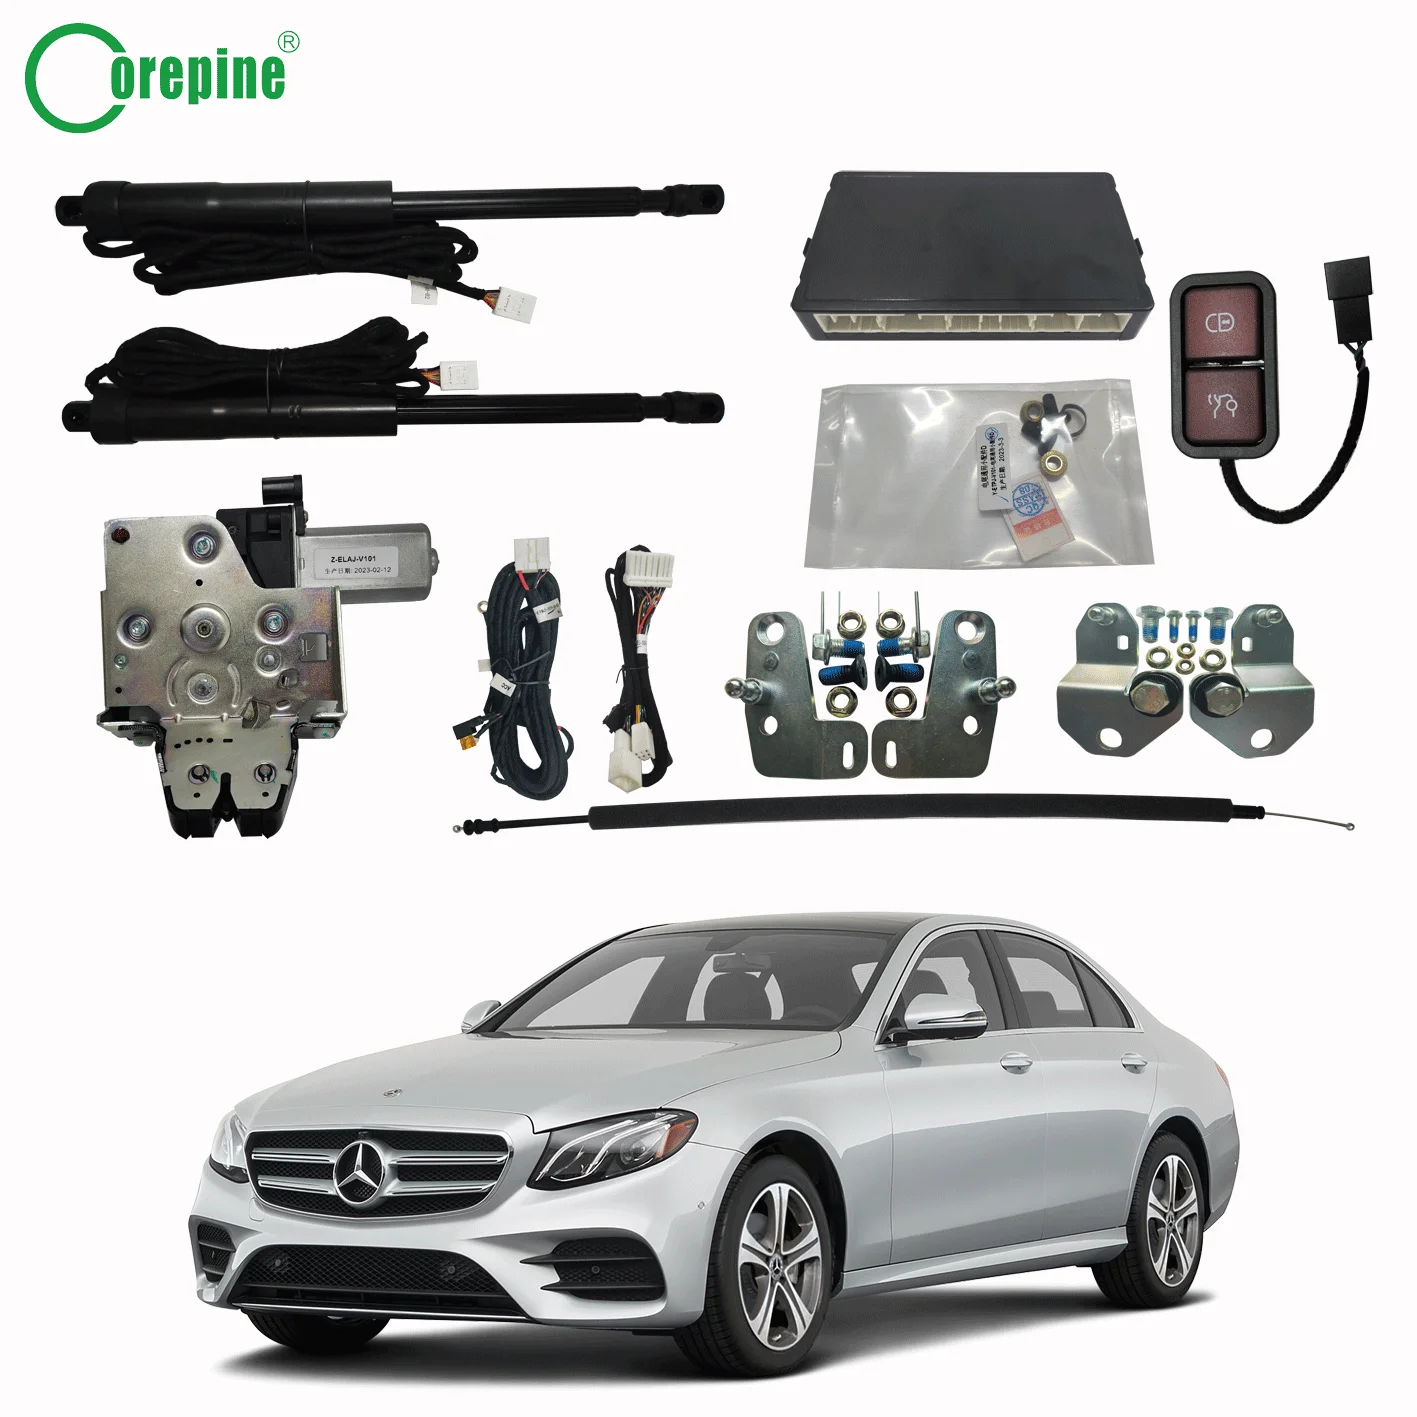
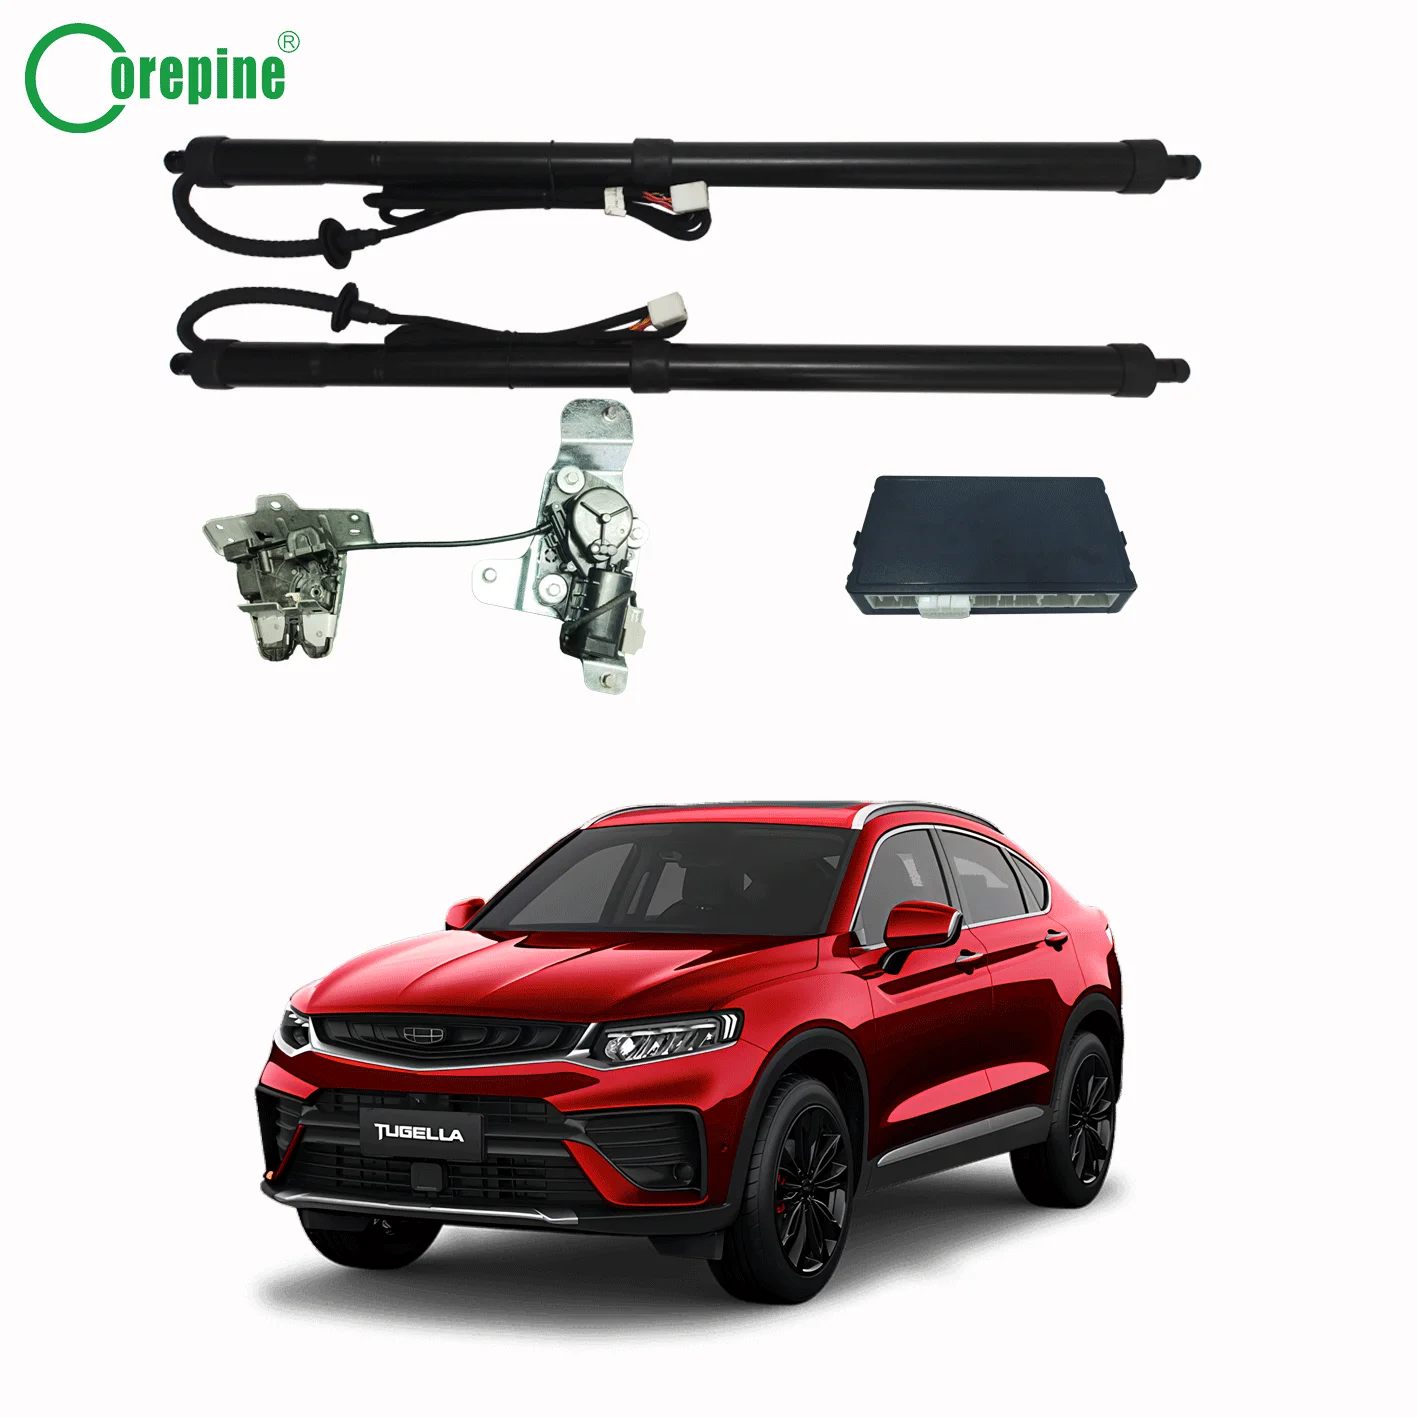
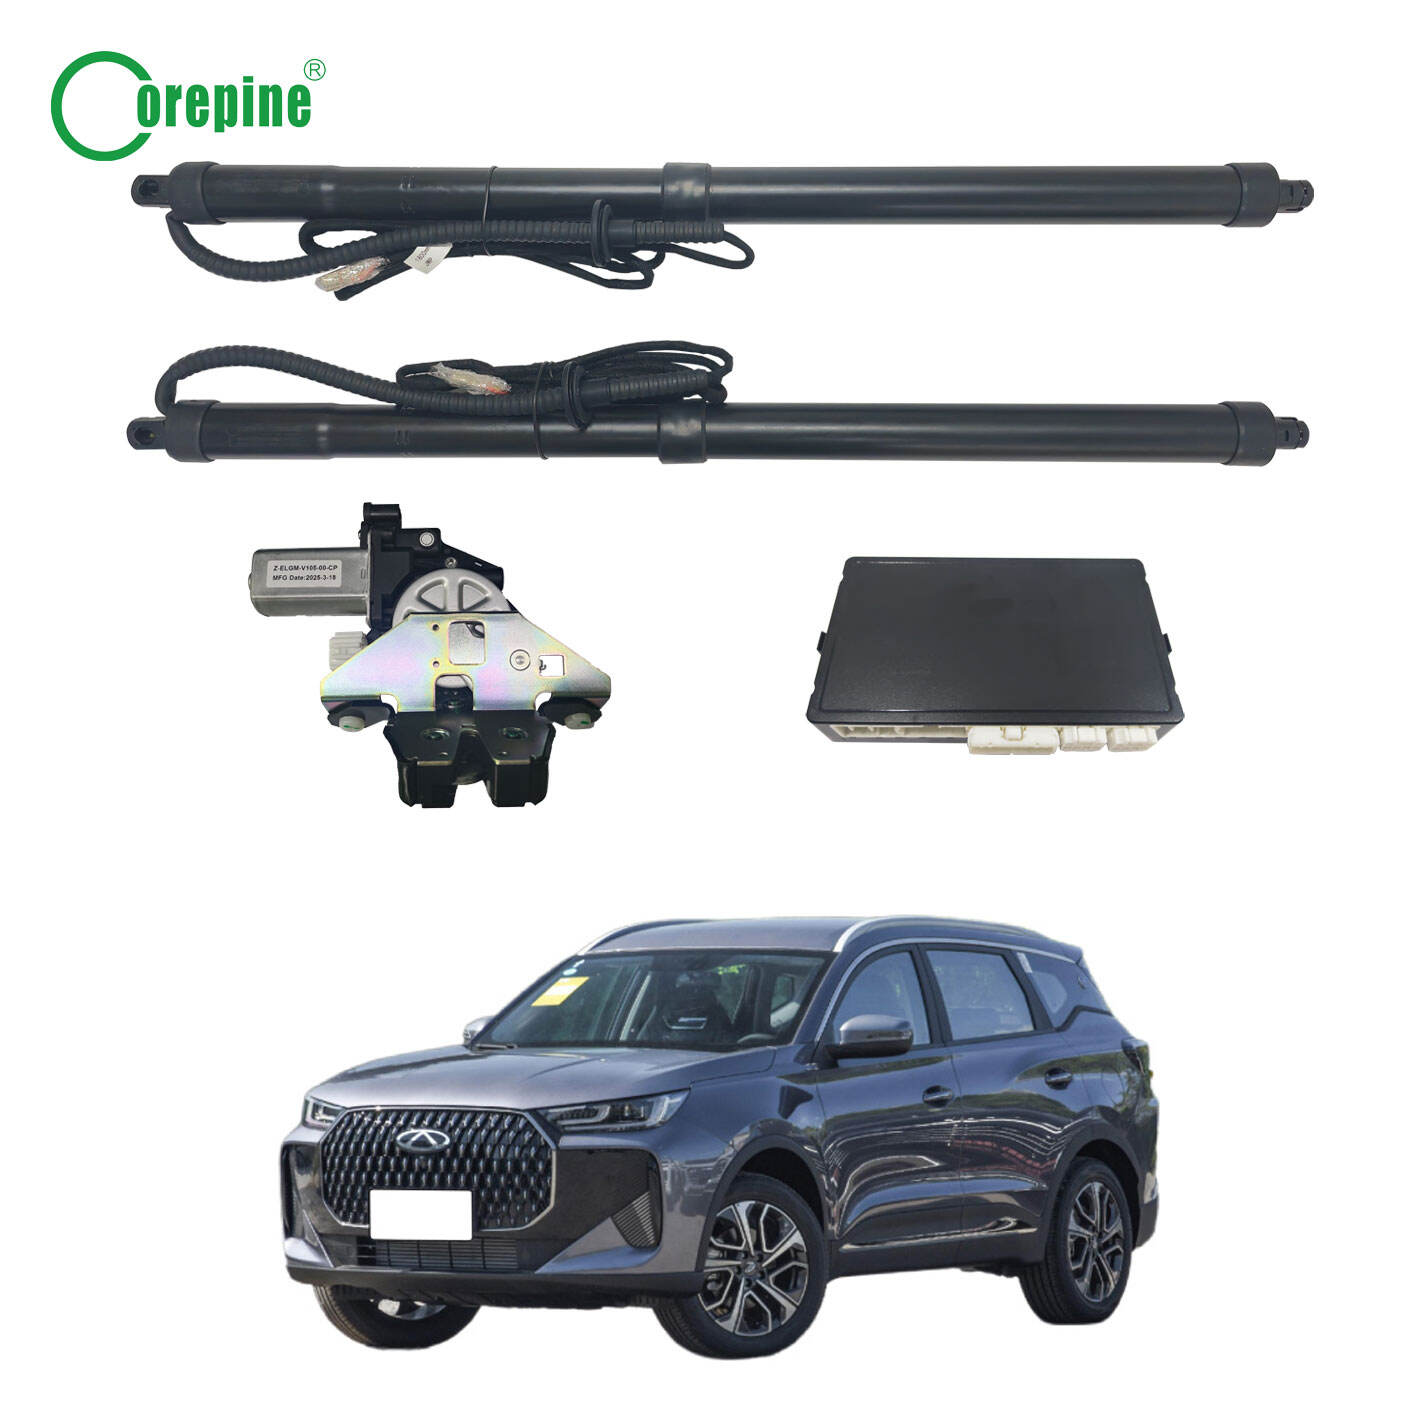
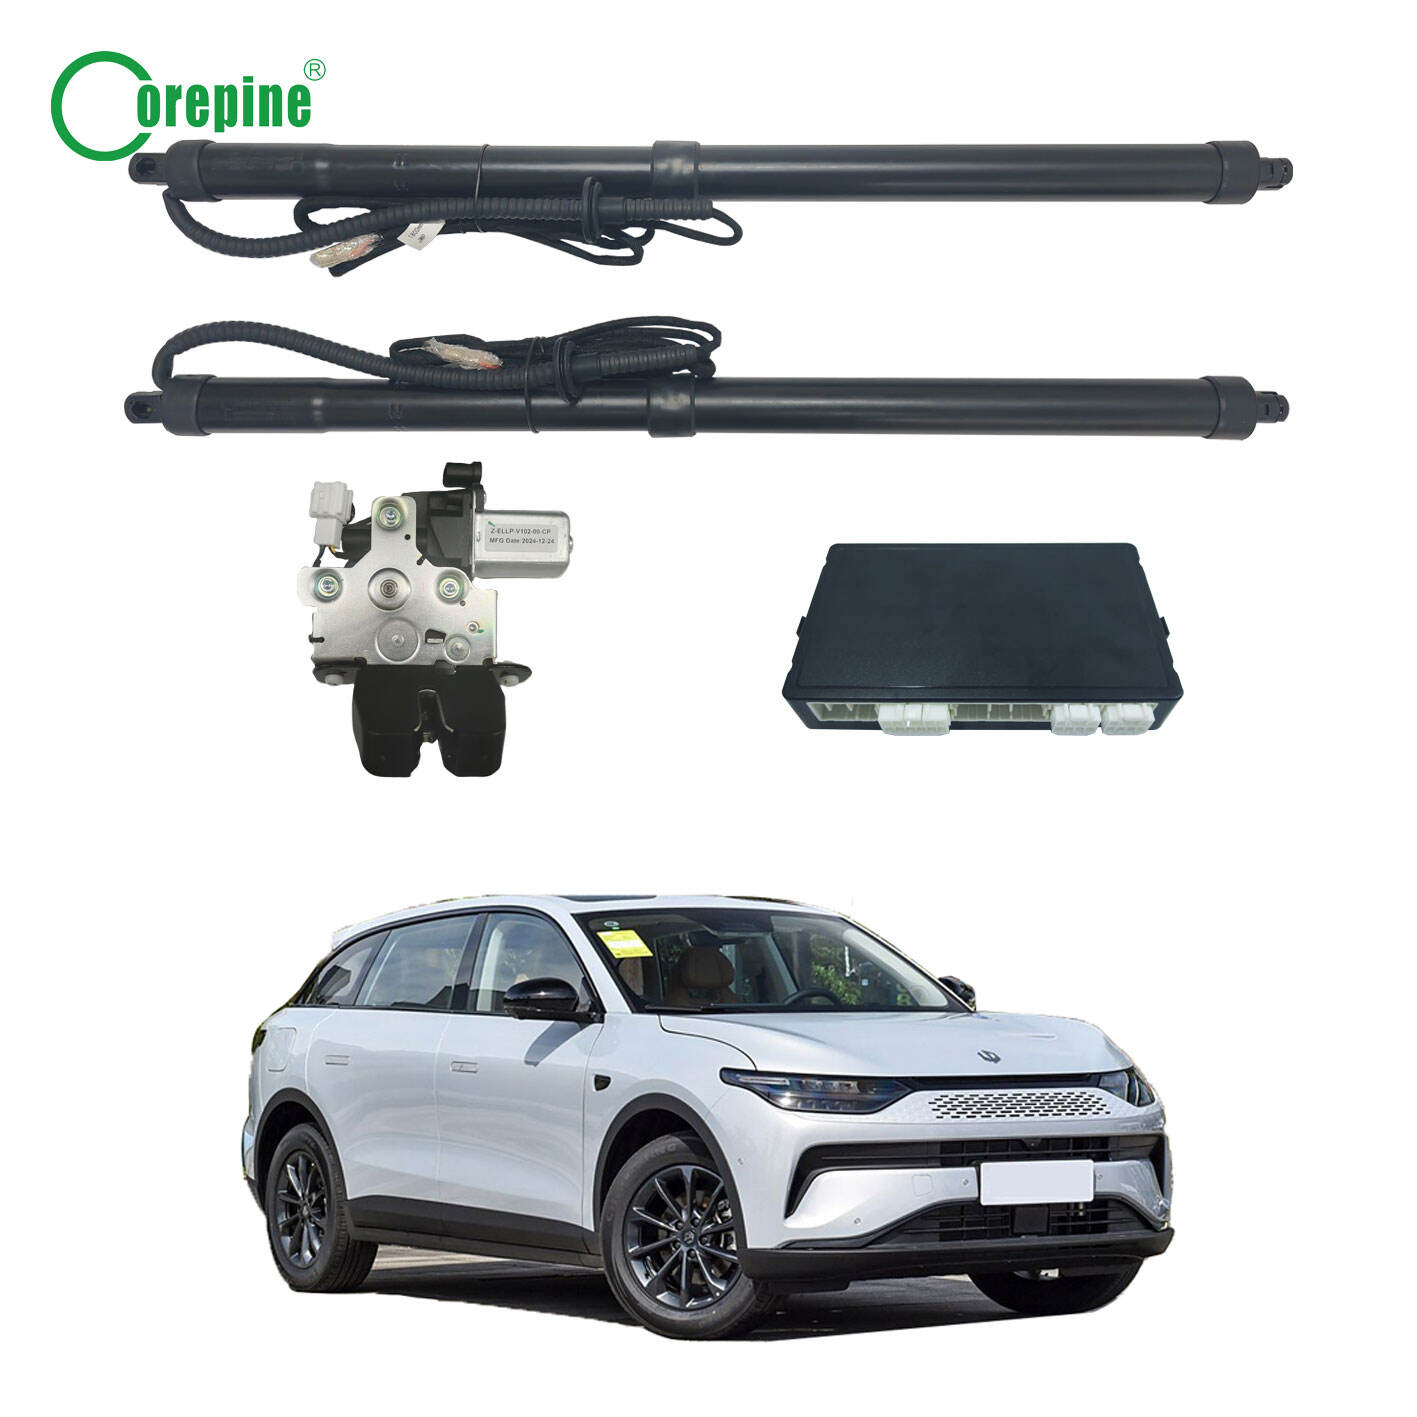
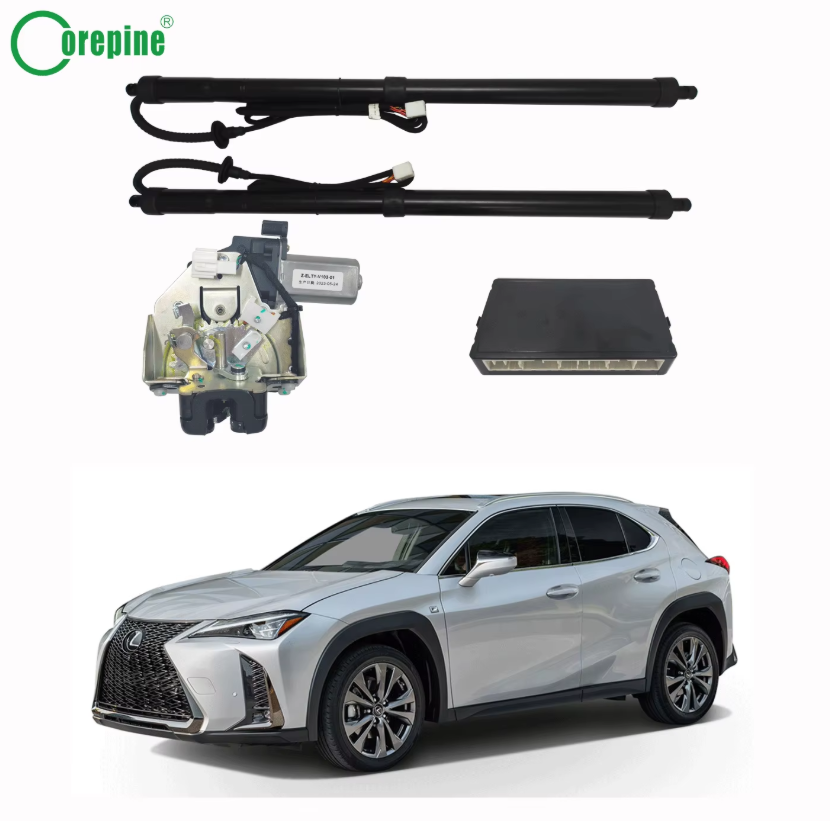
The aftermarket options available are a great compliment to the vehicle. Power tailgate kits start at 220 to 350 dollars for the Tiguan. That is for a set of electric struts, a control box, a wiring harness, a mounting bracket set, and a front button. Some kits are equipped with an upper suction lock to softly and securely close the tailgate. The kick sensor for hands free operation is available as an add on for most kits. Full refund kits are available as well, particularly from the Kufatec brand, but they are high priced. Unless money is no object, the aftermarket options are a no brainer.
For the sake of convenience, the best instructions come with the least amount of wire splicing. Look for plug and play kits. That means the job is as simple as the connectors snapping into place. This avoids the complexities and ensures an overall safer installation. A good instruction manual is a must.
It is always good to prepare your tools before any job. You do not want to be in the middle of the job and have to stop because you do not have the proper tools. Here are the tools you will need. First, you will need a set of screwdrivers. You also want a trim removal set so you can pop off interior panels without scratching anything. You also want zip ties to secure the wiring. You might also need a socket set for some bolts. You should also grab a light to help you see as it can get dark working behind panels and in the tailgate.
Time for the job is also important to consider. Elder folks than experienced can do this job in two to three hours. If you are not experienced set aside a full afternoon. Work in a well illuminated place. Your Tiguan should be parked in a flat, level surface. The engine should also be off. You do not want the car to move while you are working on it.
Now you have the tools and the time, there is one more thing to do. Read the instructions of the kit you bought to the end before you start anything. I know people do not like reading manuals, but you will be thankful that you did. Kits usually have a lot of information and you want to know what to do in order to help you to prevent mistakes.
Stay focused. Let us open your tailgate. To understand the proportional layout, remove the interior trim panel on the tailgate. Gentle prying is the name of the game, so use your trim removal tools. The clips on this panel assist the panel. Do not yank too hard or break the clips. Set the panel aside, but do not lose it.
After this, look for the tailgate attached wiring to disconnect. This could be the license plate lights, the rear camera if applicable, and the manual latch release. Remove the connectors and wiring. Then the original gas struts need to be removed. These tailgate struts are black cylinders. Removing them require popping the retaining clips and pry them off the ball studs. Be careful not to nick the paint, but a flathead screwdriver is useful. Without the gas struts, the tailgate becomes heavy. Make sure to have a hand and an extra assistant hold it up.
After tailgate gas struts removal, if your kit includes a replacement, the original latch mechanism removal is next. Some kits do not need the tailgate latch replacement, but others need it to offer the soft close feature. This step needs kit instructions.
New electric struts are going to be things of beauty once all the bells and whistles are finished. Time to spice things up. Start by mounting the struts to the same mounting points that the old gas struts were connected. These are called struts for a reason. Make sure that the attachments are mounted completely over the tilted balls of the seats and none of the guard clips are left unlocked. They should be secure enough to not leave the strut unhinged and dangling with the tailgate during functions.
The wiring harness is next up. Be prepared to spend the longest amount of time on this task. It is really quite simple on a step by step basis. Wiring harness commences from the electric struts to through the black rubber cable boot from the tailgate to the car roof. You will want to take your time with this. A stiff wire works or if you have it, a fish tape should do the trick for a nice guide through the rubber boot. Be careful not to pull the rubber or cut up the wiring. Go to the tail end of the harness and hook it to the control unit or box. Most of the connectors are color coded or have labels to help you avoid mistakes so it should be smooth sailing from there.
Next is the control box installation. You should be able to find a bracket in your kit that will allow you to mount the control box in the tailgate panel. Choose a location that will not interfere with anything or rattle. Use screws or zip ties to secure it. Next, you will need to connect the power wire to your vehicle's electrical system. Most plug and play kits have a simple connection point located behind the driver side kick panel or somewhere under the dashboard. It will be specified in the instructions.
Lastly, do not forget about the front button installation. You will have to remove a piece of your dashboard or center console to get to where the button will go. Some models of the Tiguan have a blank there already. Just pop the blank out, place the new button in, and plug the harness. If your Tiguan is a newer model, specifically a 2018 or newer model, you might be in luck and not need a front button at all. To control the tailgate, just hit the unlock button on your key fob three times. Be sure to reference your kit instructions to ensure you are doing the correct steps for your model year.
Assuming that everything is fully secured and connected. If you disconnected your battery to do the install, reconnect your battery. Now you can finally see if it all worked. Using the front button is a good place to start. Depending on your tailgate, you should see it start to move. If it does not move at all, you will want to check your connections again. You may want to ensure the control box is powered as well.
If your tailgate does move, but the movement is not very smooth, this is not a reason to worry. This could simply mean the tailgate is not properly synchronized. In fact, some kits include a calibration process. You may be required to fully open and completely close the tailgate a few times in order for the box to learn the positions. Some kits will have you press and hold specific buttons. See your instructions for the specifics.
Every method available to operate your tailgate should be tested. If your tailgate is equipped with a fob operated release, it should be tested as well. If you have the kick sensor, use the sensor to see if it also responds. Be sure to test the pinch safety as well. You should press on the tailgate as it is closing. It should stop, and it should reverse. Ensuring that this feature works is very important to ensure the safety for you and everyone near the tailgate.
After adjusting the system to the desired movement, you can set the opening height. Simply pull the tailgate down to the desired opening height. Press and hold the close button until you hear a beep, and the system will remember this height. This is very useful if you need to park in a garage or place with a low ceiling.
Even if you plan for every detail, things can still go wrong. Here is a brief overview of a few things you might run into.
One of the issues is the tailgate only opening partway, then stopping completely. This usually points to a sensor or wiring issue. For some sport models, the sensor wire near the hinge of the tailgate can break from the constant opening and closing. Water can enter the connector housing and cause corrosion. You will need to go into the tailgate and inspect the wiring and replace any damaged wiring. Seal the connectors with some waterproofing sealant to prevent the connections from corroding in the future. In some instances, cleaning the mechanism may fix this issue. Grime and dirt may make the system think there is a blockage, and that can cause the tailgate to stop opening.
A completely non responsive tailgate is a little more difficult to troubleshoot. The very first thing to check is the fuse. It is likely that the fuse blew during the installation. If the fuse is fine, check the ground connection. A bad ground is the best kind of bad. It can create a number of issues. Make sure the grounding wire is snugly attached to a clean and bare piece of metal.
If you hear grinding or clicking noises when the tailgate moves, the struts might be misaligned. Loosen the mounting bolts slightly, adjust the strut position, and retighten the bolts. With the proper adjustments, the struts should be able to move freely.
If you feel you cannot fix the problem, it would be best to get the advice of a professional. Mechanics deal with these problems all the time and can often do a diagnosis quicker than anyone else can. Several hours of work at the shop can save you an entire weekend.
Installing the Tiguan trunk tailgate system is worth the time and effort to get the instructions performed correctly. The best thing is the great convenience you get after every single upgrade. No more wrestling with it when your hands are full, and it is no longer a hassle to slam it and check to make sure it latched.
Once you do make the decision on whether to do the install yourself or pay a shop, choose a quality kit from a supplier with a good record. Features like anti pinch protection, height memory, and quiet operation are a must. Do not neglect your kit after it is installed. Clean, lubricated hinges and latched are a requirement. Your Tiguan will appreciate it.
 Hot News
2024-12-23
2024-12-16
2024-12-09
2025-05-14
2025-05-12
2025-09-30
Experience the ultimate in car convenience with Corepine advanced electric tailgates. Our smart solutions offer effortless cargo access, enhancing your driving experience.
Zhongkai High-tech Zone, Huizhou, Guangdong, China
Copyright © 2025 by Huizhou Yopine Technology Co., Ltd Privacy Policy